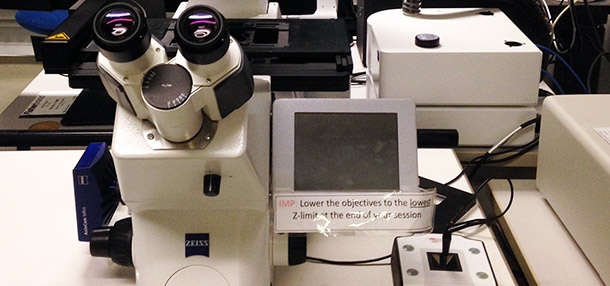
Zeiss Axio-Observer Z1
fully motorized inverted microscopeRoger Gaudry Building, Room R-421
See | Link in New Window |
|---|
| icon | false |
|---|
| linkText | details |
|---|
| href | https://pharmacologie-physiologie.umontreal.ca/ressources/plateforme-de-microscopie/zeiss-axio-observer-z1-epifluorescent/ |
|---|
| target | _blank |
|---|
|
on the| Link in New Window |
|---|
| icon | false |
|---|
| linkText | Pharmacology and Physiology Department Microscopy Platform |
|---|
| href | https://pharmacologie-physiologie.umontreal.ca/ressources/plateforme-de-microscopie/ |
|---|
| target | _blank |
|---|
|
Training and booking available
Access upon request to the corresponding the platform manager . Consult the | Link in New Window |
|---|
| icon | false |
|---|
| linkText | fees structure |
|---|
| href | https://pharmacologie-physiologie.umontreal.ca/wp-content/uploads/sites/38/2017/05/tarification-2017.pdf |
|---|
| target | _blank |
|---|
|
and| Link in New Window |
|---|
| icon | false |
|---|
| linkText | access policies |
|---|
| href | https://pharmacologie-physiologie.umontreal.ca/ressources/plateforme-de-microscopie/politique-dacces/ |
|---|
| target | _blank |
|---|
|
of the| Link in New Window |
|---|
| icon | false |
|---|
| linkText | Phamarcology and Physiology Department Microscopy Platform |
|---|
| href | https://pharmacologie-physiologie.umontreal.ca/ressources/plateforme-de-microscopie/ |
|---|
| target | _blank |
|---|
|
.Serial Camera 1 22 12 5537 r3.1 426509-9901-000 Identifiant système 1024979772. |